
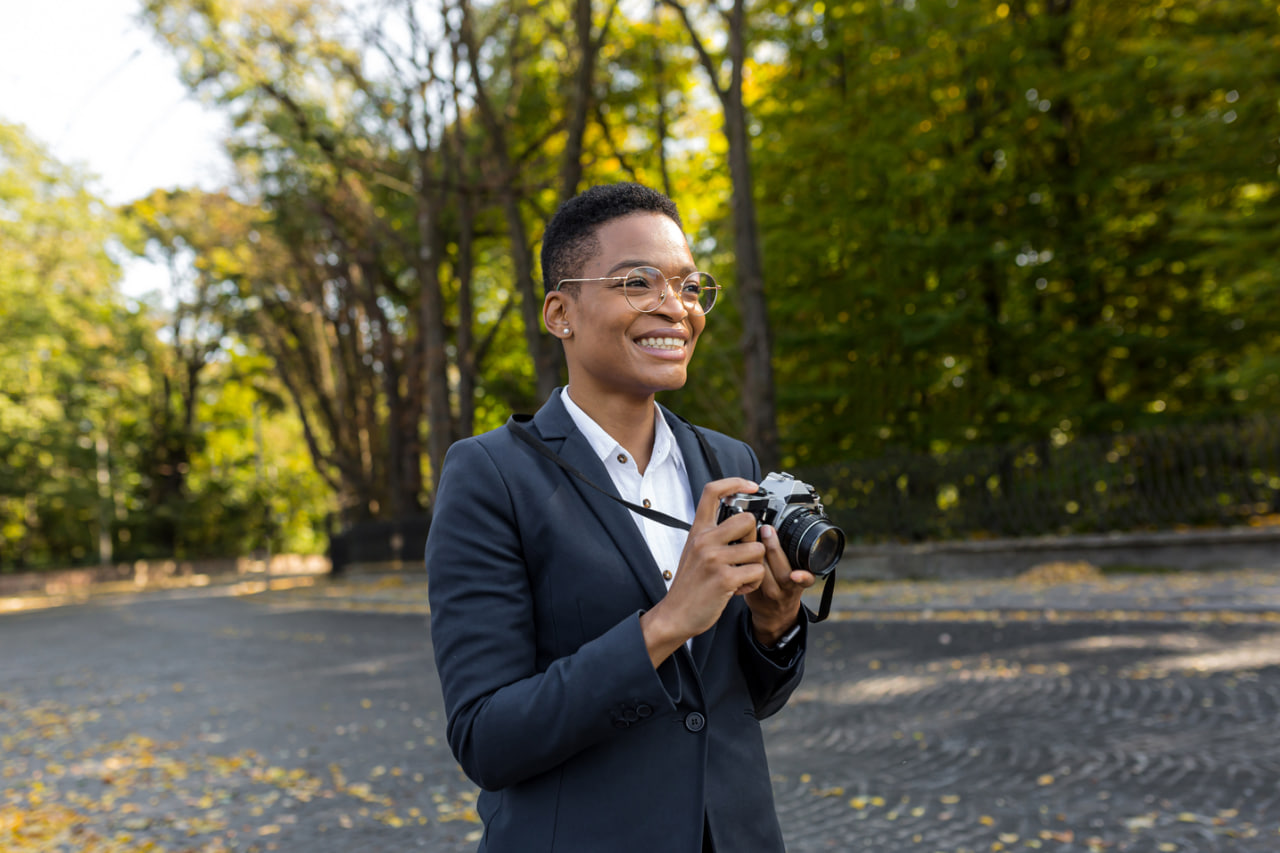
Beginner’s Guide: How to Use Your Camera in Manual Mode
Learning how to shoot in manual mode can feel intimidating at first, but it’s a game-changer for anyone serious about improving their photography. Manual mode gives you complete control over your camera and helps you understand how each setting affects the final image. Once you grasp the key elements—ISO, shutter speed, and aperture—you’ll be able to create photos that look exactly the way you envision them.
In this guide, we’ll break down the basics of manual mode and show you how to confidently use it, even if you’re picking up a camera for the first time.
What Is Manual Mode?
Manual mode, often marked with an “M” on your camera’s dial, allows you to control all exposure settings yourself rather than letting the camera make decisions automatically. This means you’ll be adjusting ISO, shutter speed, and aperture based on the scene you’re photographing.
Shooting in manual gives you more creative freedom, especially in tricky lighting conditions or when you want to achieve a specific artistic effect.
Understanding the Exposure Triangle
Before diving into settings, it’s essential to understand the exposure triangle. This concept connects three settings that together control the brightness and look of your image.
ISO
ISO determines how sensitive your camera’s sensor is to light. A lower ISO (like 100) means less sensitivity and is ideal for bright environments. A higher ISO (like 1600 or 3200) increases sensitivity and is used in low light but can introduce grain or noise.
Start with ISO 100 or 200 when shooting outdoors in daylight, and raise it only when the light is limited.
Shutter Speed
Shutter speed controls how long your camera’s shutter stays open. Faster speeds (like 1/1000) freeze motion, while slower speeds (like 1/30) create motion blur.
Use fast shutter speeds for action shots, and slower ones for low-light scenes or creative blur effects. Be cautious: slower shutter speeds can result in camera shake if you’re not using a tripod.
Aperture
Aperture, shown as f-numbers (like f/2.8, f/5.6, f/11), affects both the amount of light that enters your lens and the depth of field (how much of the scene is in focus).
Lower f-numbers mean a wider opening, more light, and a blurrier background—great for portraits. Higher f-numbers mean a narrower opening, less light, and more of the scene in focus—ideal for landscapes.
How to Balance the Three Settings
These three settings work together to expose your image correctly. If one changes, another usually needs to be adjusted to maintain balance. For example, if you increase shutter speed to freeze motion, you may need a wider aperture or higher ISO to keep the exposure right.
Most cameras have an internal light meter visible in the viewfinder. It shows if your image will be underexposed (too dark) or overexposed (too bright). Adjust your settings until the meter is centered.
Step-by-Step: How to Shoot in Manual Mode
- Set your ISO based on lighting conditions. Start with ISO 100 for bright scenes.
- Choose your aperture depending on the depth of field you want. Use f/2.8 for a blurry background or f/8 for more sharpness.
- Adjust your shutter speed to expose correctly and match the type of subject. Fast for motion, slow for stillness or low light.
- Look at your camera’s light meter and fine-tune your settings to achieve a balanced exposure.
- Take a test shot, review the image, and adjust if needed. Don’t be afraid to experiment.
Tips for Beginners
- Use the camera’s LCD screen and histogram to review exposure.
- Start in good lighting conditions to make learning easier.
- Practice photographing still objects before moving ones.
- Don’t worry about perfection—use mistakes as learning opportunities.
- Try aperture or shutter priority modes first if full manual feels overwhelming.
Why Manual Mode Is Worth Learning
Although automatic and semi-automatic modes are convenient, they don’t always produce the creative results you’re looking for. Manual mode puts you in the driver’s seat. You’ll learn how to adapt in different situations, correct exposure issues, and build technical skills that are essential for advanced photography.
The more you practice, the more second nature it becomes. Eventually, adjusting your settings will feel as intuitive as framing your shot.